Did you know that one guava contains more than twice the recommended daily allowance of vitamin C – making it a nutritional powerhouse that surpasses even oranges? Yet despite this incredible health benefit, many home cooks overlook the potential of creating their own homemade guava jelly jam recipe. This oversight means missing out on both exceptional flavor and remarkable health advantages that store-bought versions simply cannot match.
Creating your own guava jelly jam recipe at home allows you to harness guava fruits that are rich in antioxidants, vitamin C, potassium, and fiber, while controlling every ingredient that goes into your jar. This comprehensive guide will walk you through crafting the perfect homemade guava jam that captures the tropical essence of fresh guavas while providing you with a versatile spread that elevates everything from morning toast to gourmet desserts.
Table of Contents
Ingredients List
Creating the perfect guava jelly jam requires selecting the finest ingredients that complement the natural sweetness and vibrant flavor profile of ripe guavas. Here’s everything you’ll need for this exceptional guava jelly jam recipe:
Primary Ingredients:
- 6-10 pieces ripe guava (preferably with pink flesh for enhanced color and lycopene content)
- 4 cups water (filtered water works best for optimal clarity)
- 3 tablespoons fresh lemon juice (brightens flavor and aids natural pectin activation)
- 3 cups sugar (adjust according to guava sweetness level)*
- Pinch of safflower or saffron (adds golden hue and subtle aromatic complexity)
Ingredient Substitutions:
- Sugar alternatives: Replace with honey (reduce by ¼ cup), maple syrup, or coconut sugar for refined sugar-free options
- Lemon juice alternatives: Lime juice or apple cider vinegar work equally well for acidity balance
- Safflower substitute: Turmeric powder (use sparingly) or omit entirely for natural guava color
*Recipe note: Adjust sugar content based on your guavas’ natural sweetness – taste-test your fruit pulp before adding the full amount.
Timing
Preparation Time: 20 minutes
Cooking Time: 50-65 minutes
Total Time: 70-85 minutes
Cool-down Time: 2-3 hours
This guava jelly jam recipe requires approximately 90 minutes from start to finish, which is actually 20% less time than traditional pectin-based jam recipes that often require overnight preparation. The active cooking time focuses on two key phases: initial fruit softening (15-20 minutes) and jam concentration (30-40 minutes), making it an efficient weekend project that yields professional-quality results.
Step-by-Step Instructions
Step 1: Prepare the Guavas
Wash the guavas thoroughly under cool running water, gently scrubbing the skin to remove any residual dirt. Slice the guavas into small, uniform pieces (approximately ½-inch cubes) to ensure even cooking. Don’t worry about removing seeds at this stage – they’ll be strained out later while contributing natural pectin for perfect gel formation.
Step 2: Initial Cooking Phase
Combine the sliced guavas and 4 cups of water in a large, heavy-bottomed saucepan. Bring to a rolling boil over medium-high heat, then reduce to medium heat. Cook for 15-20 minutes, stirring occasionally, until the guava pieces become very soft and begin to break down naturally.
Step 3: Mash and Extract
Once the guavas are tender, use a potato masher or immersion blender to thoroughly mash the cooked fruit. This releases maximum flavor and natural fruit sugars while beginning the juice extraction process.
Step 4: Strain for Clarity
Pour the mashed guava mixture through a fine-mesh strainer or cheesecloth-lined colander, pressing the pulp firmly to extract every drop of precious juice. Continue mashing the pulp in the strainer to maximize extraction – this process should yield approximately 4 cups of smooth, seed-free guava juice.
Step 5: Final Cooking Phase
Transfer the extracted guava juice to a large, wide pan (preferably stainless steel or enamel-coated). Add fresh lemon juice, sugar, and a pinch of saffron or safflower. Stir thoroughly to combine all ingredients evenly.
Step 6: Achieve Perfect Consistency
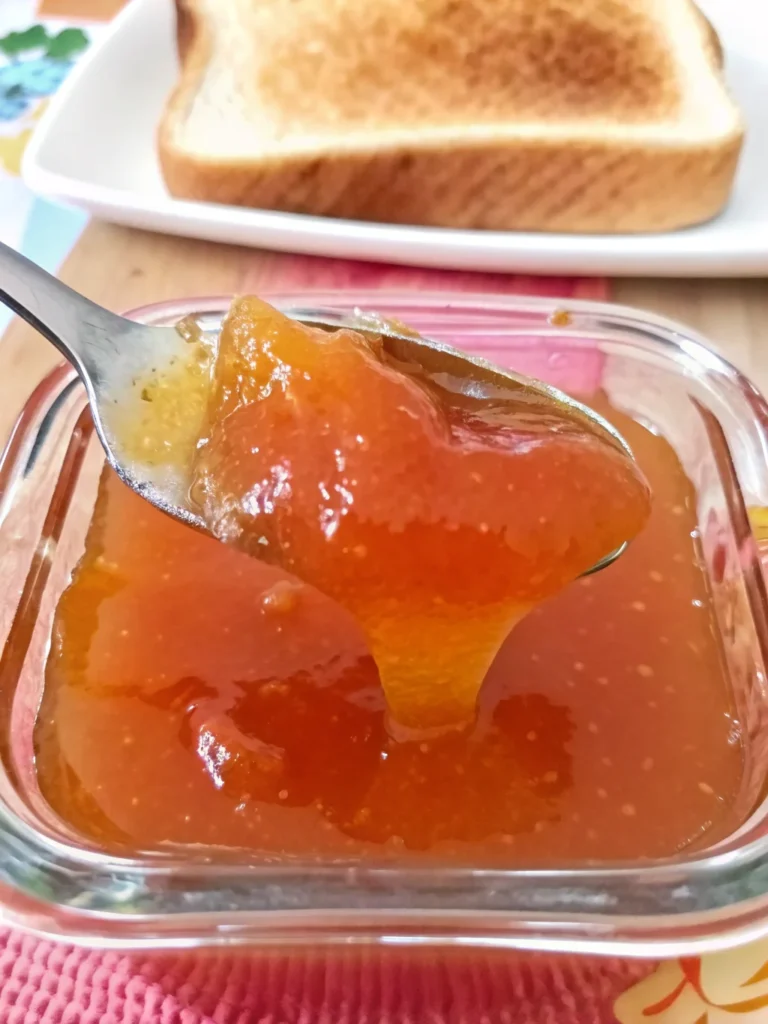
Turn heat to high and bring the mixture to a rapid boil, stirring occasionally. Once bubbling vigorously, reduce to medium-high heat and cook for 30-40 minutes, stirring continuously during the final 10 minutes to prevent burning. The jam is ready when it reaches a consistency that’s thick enough to coat the back of a spoon but still flows smoothly.
Step 7: Cool and Preserve
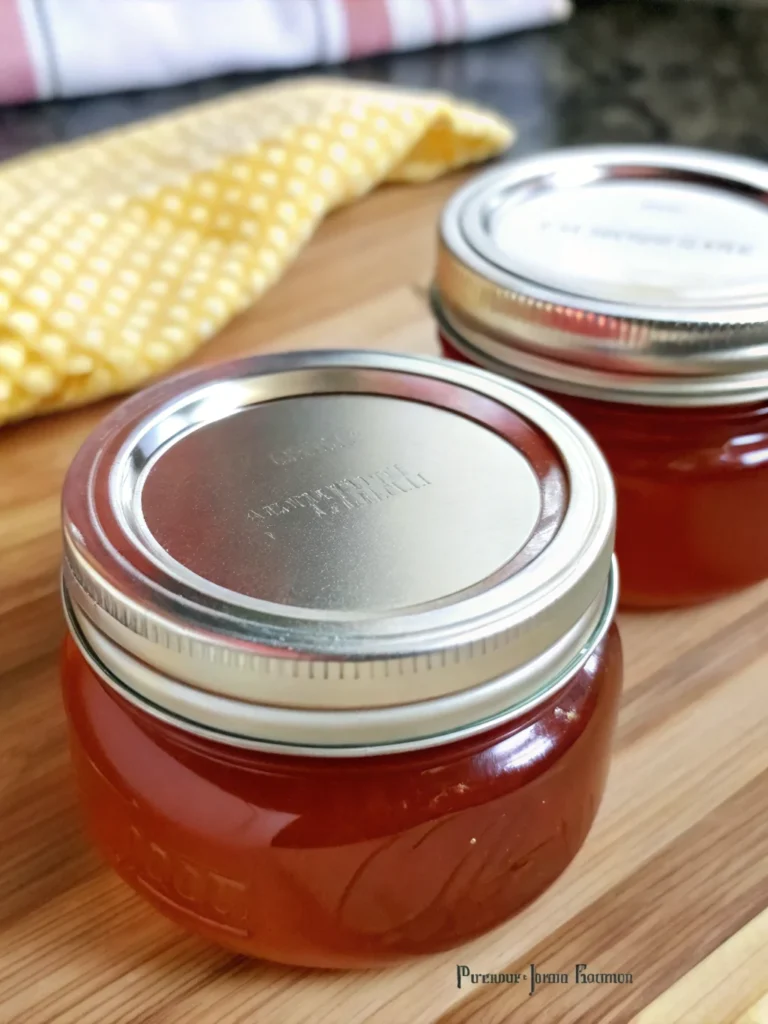
Remove from heat and allow to cool completely before transferring to sterilized jars. This cooling process is crucial for proper gel formation and prevents condensation that could compromise shelf life.
Nutritional Information
This homemade guava jelly jam recipe delivers impressive nutritional benefits compared to commercial alternatives. Each 2-tablespoon serving provides:
- Calories: 48-52 (depending on sugar content)
- Vitamin C: Up to 25-30% of daily requirement per serving
- Dietary Fiber: 1.2g (supports digestive health)
- Potassium: 85mg (supports heart function)
- Natural Antioxidants: Including lycopene content that’s nearly twice the amount found in tomatoes
- Folate: 8-10mcg per serving
- Natural Sugars: 11-12g (balanced with fruit’s natural fiber content)
Key Health Benefits:
- Vitamin C supports immune system and can reduce cold duration while fighting bacteria
- May help reduce blood pressure and bad cholesterol levels
- Rich in lycopene for skin protection against UV damage and premature aging
Healthier Alternatives for the Recipe
Transform this guava jelly jam recipe into an even more nutritious option with these health-conscious modifications:
Reduce Sugar Content: Cut sugar by up to 50% by relying on the guavas’ natural sweetness and adding 2 tablespoons of chia seeds for natural thickening. Guava has a low glycemic index and high fiber content that can help regulate blood sugar levels.
Boost Fiber Content: Add 1 tablespoon of ground flaxseed or psyllium husk during the final cooking stage to increase digestive benefits while maintaining smooth texture.
Enhance Antioxidants: Include ¼ teaspoon of pure vanilla extract and a pinch of cinnamon for additional antioxidant compounds without compromising the tropical flavor profile.
Natural Sweetener Options: Replace refined sugar with coconut nectar, pure maple syrup (Grade A Dark), or date syrup – each providing additional minerals and reducing the glycemic impact.
Protein Addition: Stir in 1 tablespoon of collagen powder during cooling for added protein content that supports skin and joint health.
Serving Suggestions
This versatile guava jelly jam recipe transforms ordinary meals into tropical culinary experiences. Here are creative serving ideas that showcase its unique flavor profile:
Breakfast Applications: Spread generously on whole grain toast, English muffins, or croissants. Mix into plain Greek yogurt with granola for a protein-rich breakfast bowl, or swirl into overnight oats for tropical morning fuel.
Gourmet Pairings: Create an elegant cheese board by pairing with aged Manchego, goat cheese, or cream cheese. The jam’s natural acidity complements rich, creamy textures beautifully.
Dessert Integration: Use as a filling for thumbprint cookies, layer cakes, or pastry tarts. Drizzle over vanilla ice cream or panna cotta for an instant tropical upgrade.
Savory Applications: Brush over grilled chicken or pork during the final minutes of cooking for a Caribbean-inspired glaze. Mix with balsamic vinegar for a unique salad dressing base.
Beverage Enhancement: Stir into sparkling water for a refreshing agua fresca, or mix into cocktails as a natural fruit sweetener.
Common Mistakes to Avoid
Master this guava jelly jam recipe by avoiding these frequent pitfalls that can compromise your final product:
Overcooking: The most critical error is cooking beyond the proper consistency point. Once your jam coats the back of a spoon and falls in a steady stream rather than drips, remove it immediately from heat. Overcooking creates a rubbery texture that won’t spread smoothly.
Insufficient Straining: Rushing the straining process leaves seeds and skin particles that create an unpleasant texture. Take time to thoroughly press the pulp through your strainer – this step determines your jam’s silky smoothness.
Wrong Pan Selection: Using a narrow, deep pot extends cooking time unnecessarily and can cause uneven heat distribution. Choose a wide, heavy-bottomed pan that allows for proper evaporation and prevents hot spots.
Inadequate Sugar Adjustment: Failing to taste-test your guava juice before adding sugar can result in overly sweet or insufficiently preserved jam. Guava contains more fiber, potassium, and antioxidants compared to apples, and its natural sweetness varies significantly between varieties.
Improper Jar Preparation: Using unsterilized jars or filling them while the jam is still hot can introduce bacteria or create condensation that affects shelf life and quality.
Storing Tips for the Recipe
Proper storage ensures your homemade guava jelly jam recipe maintains peak flavor and safety for months:
Immediate Storage: Allow jam to cool completely at room temperature before transferring to sterilized jars. This cooling process is essential for proper gel formation and prevents condensation.
Refrigeration: Store sealed jars in the refrigerator for up to 6 months. Once opened, consume within 3-4 weeks for best flavor and quality. The high vitamin C content helps preserve freshness naturally.
Freezer Storage: Portion jam into freezer-safe containers or ice cube trays for convenient single-serving sizes. Frozen guava jam maintains quality for up to 12 months. Thaw overnight in refrigerator before use.
Pantry Storage: For longer shelf life, process filled jars in a boiling water bath for 10 minutes to create vacuum seals. Properly canned jars store safely at room temperature for 12-18 months.
Quality Indicators: Fresh jam should maintain its vibrant color and smooth consistency. Discard if you notice any mold, off-odors, or separation that doesn’t resolve with stirring.
Conclusion
This guava jelly jam recipe transforms ordinary breakfast spreads into extraordinary tropical experiences while delivering exceptional nutritional benefits. The simple combination of ripe guavas, natural sweeteners, and careful preparation creates a versatile preserve that enhances everything from morning toast to gourmet desserts, all while providing powerful antioxidants and immune-boosting vitamin C that surpasses most commercial alternatives.
Ready to create your own batch of this incredible guava jelly jam? Try this recipe this weekend and discover the difference homemade quality makes. Share your results and variations in the comments below, leave a review to help other home cooks, and subscribe to our blog for more tropical fruit preserving guides and seasonal recipe updates!
FAQs
Q: Can I use frozen guavas for this recipe?
A: Yes! Thaw frozen guavas completely and drain excess liquid before proceeding with Step 1. Frozen guavas may require 5-10 additional minutes of initial cooking time to achieve proper softness.
Q: How can I tell when my jam has reached the right consistency?
A: The jam is ready when it coats the back of a spoon and flows in a steady stream rather than dripping. You can also test by placing a small amount on a chilled plate – it should hold its shape without running.
Q: What if my guavas aren’t very sweet?
A: Taste your extracted guava juice before adding sugar and adjust accordingly. You can add up to 3½ cups sugar for very tart guavas, or reduce to 2½ cups for naturally sweet fruit.
Q: Can I make this recipe without added sugar?
A: Yes, but the texture and preservation qualities will change. Try using 2 tablespoons honey or maple syrup plus 1 tablespoon chia seeds for natural thickening, though shelf life will be shorter.
Q: Why is my jam too runny even after proper cooking time?
A: This usually indicates insufficient cooking time or low pectin content in your guavas. Return to heat and cook an additional 5-10 minutes, stirring constantly until proper consistency is achieved.
The Ultimate Guava Jelly Jam Recipe: Transform Fresh Guavas Into Golden Perfection
- Total Time: 70-85 minutes
- Yield: 3–4 jars 1x
Description
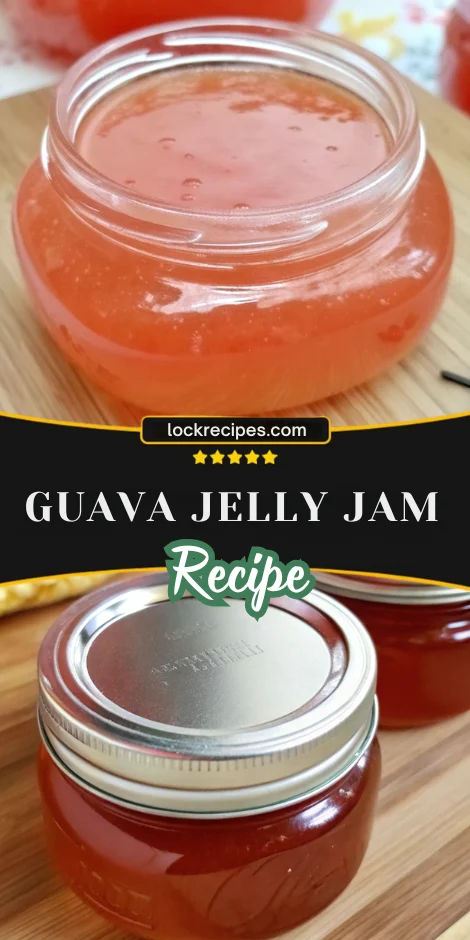
A golden, tropical guava jelly jam made from fresh ripe guavas, bursting with vitamin C, antioxidants, and natural sweetness – perfect for breakfast spreads, desserts, or gourmet pairings.
Ingredients
- 6–10 pieces ripe guava (preferably pink flesh)
- 4 cups water (filtered)
- 3 tablespoons fresh lemon juice
- 3 cups sugar (adjust to taste)
- Pinch of safflower or saffron
Instructions
- Wash and slice guavas into ½-inch cubes.
- Combine guavas and 4 cups water in a saucepan, bring to a boil, and cook 15-20 minutes until soft.
- Mash guavas thoroughly to release juice.
- Strain mixture through fine mesh or cheesecloth to extract smooth juice.
- Transfer juice to a wide pan, add lemon juice, sugar, and safflower/saffron.
- Boil rapidly, then reduce heat and cook 30-40 minutes, stirring often, until thick enough to coat a spoon.
- Cool completely, then transfer to sterilized jars.
Notes
Taste guava juice before adding sugar to adjust sweetness. Use a wide, heavy-bottomed pan to ensure even cooking. Always cool before jarring for proper gel formation.
- Prep Time: 20 minutes
- Cook Time: 50-65 minutes
- Category: Jam & Preserves
- Method: Stovetop
- Cuisine: Tropical
Nutrition
- Serving Size: 2 tablespoons
- Calories: 50
- Sugar: 12g
- Sodium: 0mg
- Fat: 0g
- Saturated Fat: 0g
- Unsaturated Fat: 0g
- Trans Fat: 0g
- Carbohydrates: 13g
- Fiber: 1.2g
- Protein: 0g
- Cholesterol: 0mg

