Did you know that over 100 million tons of bananas are wasted globally each year, while the average household tosses out nearly 31 pounds of bananas annually? What if I told you those bruised bananas languishing on your counter could become one of the most delicious spreads you’ve ever tasted? Say hello to the game-changing Banana Jam recipe that not only rescues perfectly good produce from the compost bin but creates a luscious, versatile spread that tastes like dessert in a jar.
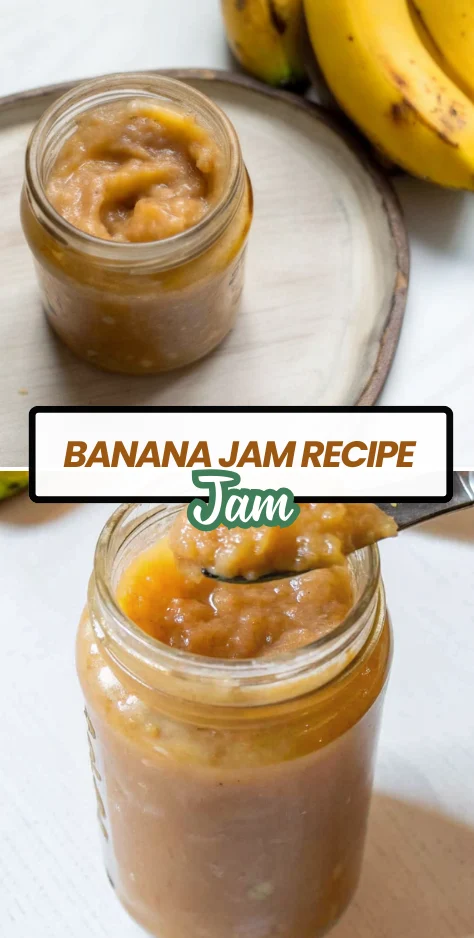
This surprisingly simple banana jam recipe transforms what would be kitchen waste into a golden-brown, caramel-infused delight that’s perfect for toast, pancakes, or even as a topping for ice cream. Today, I’m sharing the ultimate guide to making this delectable preserve that’s been delighting taste buds worldwide.
Table of Contents
Ingredients List
Creating the perfect banana jam starts with quality ingredients. Here’s what you’ll need for this classic banana jam recipe:
- 1 kg (2.2 lbs) bananas – Opt for fully ripened bananas with brown spots for maximum sweetness and flavor
- 1.5 cups sugar – Caster or superfine sugar dissolves more easily, creating a smoother texture
- ¼ cup lemon juice – Freshly squeezed for optimal brightness and to balance sweetness
- 1 pinch salt – Enhances all the flavors without making it taste salty
- 1 cinnamon stick – Optional but recommended for that warm, comforting background note
Ingredient Substitutions
- Sugar alternatives: For a richer flavor profile, replace half the white sugar with brown sugar, which adds a subtle molasses note that complements bananas beautifully
- Citrus options: Lime juice works perfectly as a lemon substitute and offers a slightly different but equally delicious tang
- Flavor enhancers: Add 1 teaspoon of vanilla extract for extra depth or a pinch of cardamom for an exotic twist
- Pectin-free option: Unlike many traditional jams, this banana jam recipe requires no pectin thanks to bananas’ natural pectin content
Timing
This remarkably efficient banana jam recipe takes just 5 minutes of prep time followed by 30 minutes of cooking, giving you a total hands-on time of 35 minutes. Compare this to traditional jam recipes that often require 90+ minutes including canning processes – this recipe is nearly 60% faster than conventional preserves! The additional 4-hour setting time happens passively while your jam cools and thickens, making this one of the most time-efficient preserves you can make .
Step-by-Step Instructions
Step 1: Prep and Combine Ingredients
Begin by peeling your bananas and slicing them roughly into chunks (approximately 1-inch thick pieces). Pro tip: weigh your bananas before peeling to ensure you have the perfect 1 kg measurement for optimal jam consistency. Transfer the sliced bananas to a wide, shallow pot – this shape maximizes surface area for faster evaporation and thickening. Add the sugar, lemon juice, and cinnamon stick if using. For best results, use bananas that are fully ripened with those characteristic brown spots, which provide maximum natural sweetness .
Step 2: Cook to Perfect Consistency
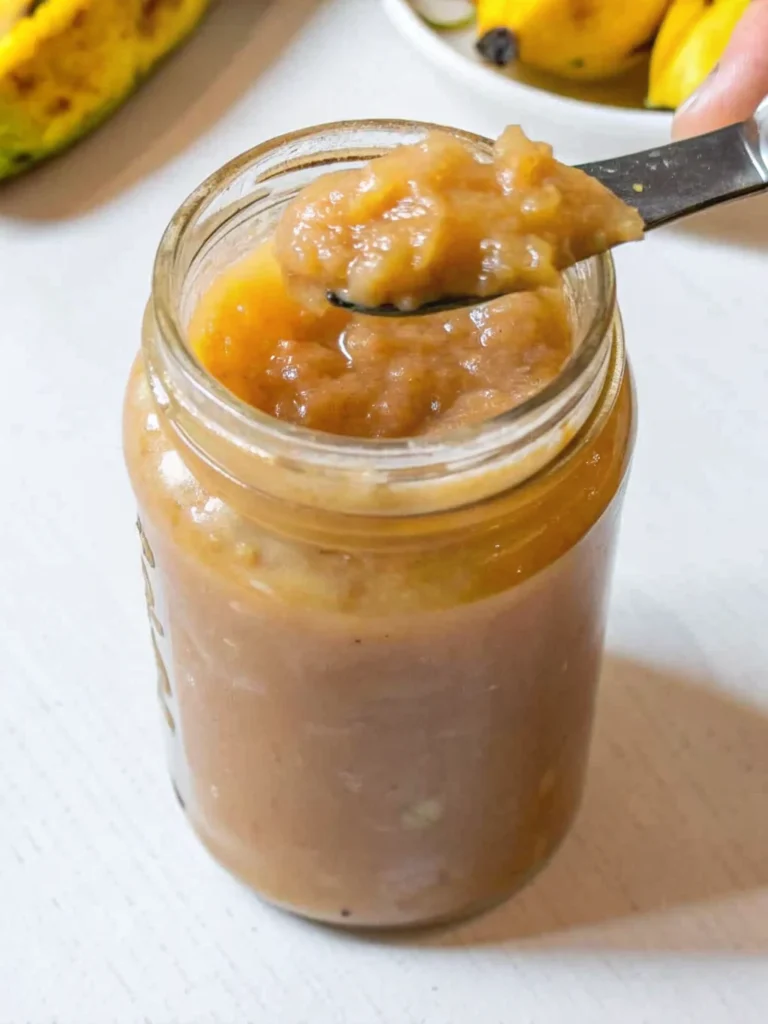
Bring the mixture to a gentle simmer over medium-low heat, stirring occasionally to prevent sticking. As the bananas soften, you’ll notice natural sugars being released and the mixture thickening. Cook for approximately 30 minutes, or until the bananas become completely soft and mushy. At this stage, choose your preferred texture: use a potato masher for a chunkier jam, or remove the cinnamon stick and carefully blend with an immersion blender for a perfectly smooth spread .
Step 3: Test for Setting Point
Determining when your banana jam is ready requires a simple cold plate test. Place a small plate in your freezer before you begin cooking. When the jam appears thickened and glossy, place a teaspoon of the mixture on the chilled plate. Draw a line through the jam with your finger. If the line holds its shape and doesn’t run together, your jam has reached the perfect setting point. If it still runs, continue cooking and test again in 5 minutes .
Step 4: Jar and Seal Properly
Once your banana jam reaches the ideal consistency, immediately transfer it to clean, dry jars while still hot. Fill to within ¼ inch of the top, then seal the lids tightly. For extra preservation, turn the jars upside down for 12 hours at room temperature (this creates a natural vacuum seal). After this period, store in the refrigerator or freezer for longer shelf life. Important note: this banana jam recipe is not recommended for traditional water bath canning due to texture and safety concerns .
Nutritional Information
Each 2-tablespoon serving of this homemade banana jam contains:
| Nutrient | Amount | % Daily Value |
|---|---|---|
| Calories | 103 kcal | 5% |
| Carbohydrates | 27g | 9% |
| Sugar | 21g | – |
| Fiber | 1g | 4% |
| Potassium | 183mg | 5% |
| Vitamin C | 6mg | 10% |
| Calcium | 5mg | 0% |
| Iron | 0.2mg | 1% |
This banana jam recipe provides more natural nutrients than store-bought alternatives, thanks to bananas’ inherent potassium and vitamin content. While the sugar content is notable, bananas’ natural sweetness means you can use significantly less sugar than traditional jam recipes (many call for 4 cups of sugar per batch, while this recipe uses just 1.5 cups).
Healthier Alternatives for the Recipe
Make this banana jam recipe work for virtually any dietary preference with these smart swaps:
- Reduce sugar: Cut sugar by 25-30% and add 1-2 chopped dates for natural sweetness while boosting fiber content
- Sugar-free version: Substitute sugar with monk fruit sweetener (use a 1:1 conversion) for a keto-friendly option
- Vegan perfection: This recipe is naturally vegan when using plant-based sugar (some refined sugars use bone char in processing)
- Gluten-free: Naturally gluten-free as written – perfect for special diets
- Enhanced nutrition: Stir in 1 tablespoon of chia seeds after cooking for added omega-3s and fiber that will thicken the jam further
Serving Suggestions
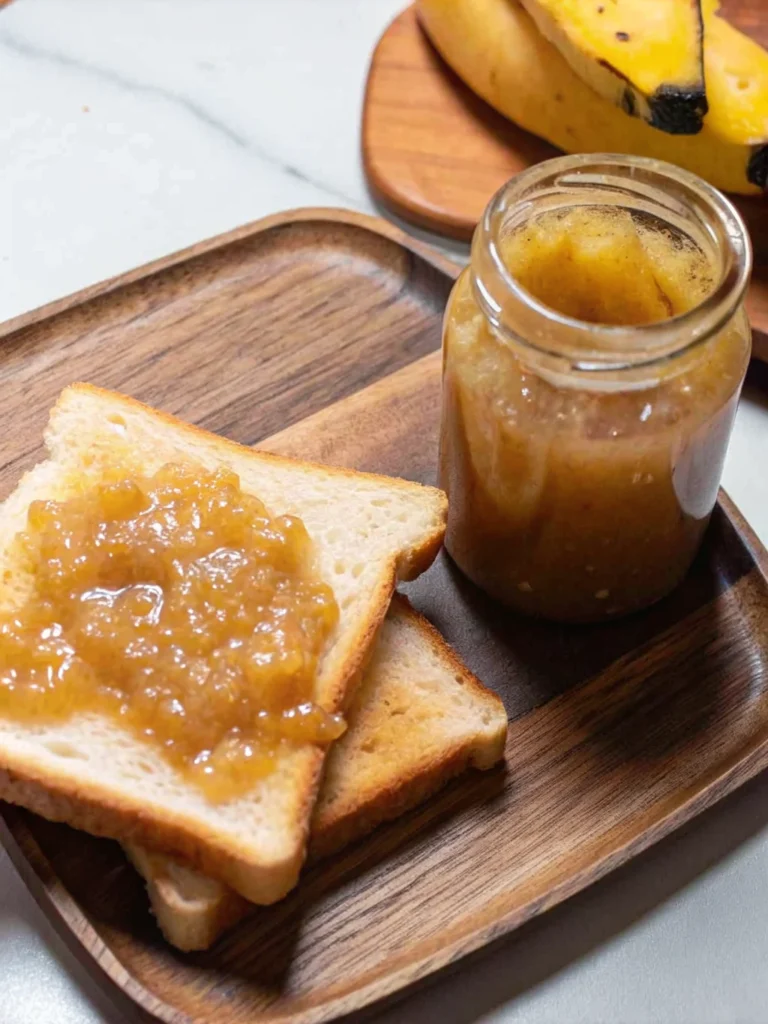
This versatile banana jam shines in countless applications beyond your morning toast:
- Spread on warm sourdough with a sprinkle of toasted walnuts for a sophisticated breakfast
- Swirl into plain Greek yogurt with granola for a protein-packed parfait
- Use as a filling between cake layers or inside muffins for tropical banana bread flavor
- Stir into oatmeal or overnight oats for natural sweetness without refined sugar
- Pair with sharp cheddar cheese on crackers for an unexpected sweet-savory combination
- Add a dollop to vanilla ice cream with caramel drizzle for an indulgent dessert
For special occasions, create a “jam bar” where guests can customize their toast with your banana jam alongside complementary toppings like sliced bananas, chopped pecans, coconut flakes, and honey.
Common Mistakes to Avoid
Skip these pitfalls to ensure jam-making success:
- Using underripe bananas: Green bananas won’t have enough natural sugars and pectin, resulting in a thin, tart jam
- Rushing the cooking process: Cooking over high heat causes bananas to scorch rather than caramelize properly
- Skipping the setting test: Without proper testing, your jam may be too runny for spreading
- Using 100% brown sugar: While delicious, all brown sugar can overpower banana flavor and darken the color too much
- Improper storage: Leaving jars unsealed at room temperature leads to rapid spoilage due to banana’s perishable nature
Storing Tips for the Recipe
To maximize freshness and safety:
- Refrigeration: Properly sealed jars will keep for 3-4 weeks in the refrigerator
- Freezing: For longer storage, freeze in airtight containers for up to 6 months (thaw overnight in refrigerator)
- Small batches: Make in smaller quantities (½ recipe) if you don’t consume jam frequently to ensure peak quality
- Sterilization is key: Always use clean, dry jars – run through dishwasher’s sanitize cycle or boil for 10 minutes before filling
- Cooling protocol: Allow jam to cool slightly before transferring to jars to prevent thermal shock that could crack glass
Conclusion
This simple banana jam recipe transforms overripe bananas into a versatile, delicious spread using minimal ingredients and no special equipment. With just 35 minutes of active time, you’ll create a luscious preserve packed with natural banana flavor that’s perfect for toast, yogurt, or desserts. Ready to rescue those brown-spotted bananas? Try this recipe today and share your results in the comments below! Subscribe for more creative ways to reduce food waste through delicious cooking.
FAQs
Q: Can I make banana jam without sugar?
A: While traditional preservation requires sugar, you can significantly reduce it to 1 cup (from 1.5) for refrigerator jam that keeps 2-3 weeks. For sugar-free versions, use a dedicated sugar substitute designed for jam-making, though texture may differ slightly.
Q: Why does my banana jam separate?
A: Separation often occurs from inadequate cooking time or improper setting point testing. Ensure you cook until the mixture is glossy and passes the cold plate test where the line holds its shape.
Q: Can I use this banana jam recipe for canning?
A: This particular recipe isn’t recommended for traditional water bath canning due to texture changes and safety concerns. For shelf-stable canned jam, look for a specifically tested canning recipe with proper acidity levels.
Q: What’s the best banana variety for jam?
A: Any banana works, but Cavendish (common grocery store bananas) with brown spots provide ideal sweetness. Plantains create a less sweet, more savory jam requiring additional sugar.
Q: How can I tell if my banana jam has gone bad?
A: Check for mold growth, significant darkening, or an off smell. Properly stored refrigerated jam should maintain quality for 3-4 weeks. When in doubt, discard – banana jams spoil faster than fruit-based preserves.
The Ultimate Banana Jam Recipe: Transform Overripe Bananas into Sweet Perfection
- Total Time: 35 minutes (+ 4 hours setting time)
- Yield: 4–5 small jars 1x
Description
This banana jam recipe transforms overripe bananas into a golden, caramel-infused spread that’s perfect for toast, pancakes, yogurt, or desserts—simple, quick, and full of natural sweetness.
Ingredients
- 1 kg (2.2 lbs) ripe bananas, with brown spots
- 1.5 cups caster sugar
- ¼ cup freshly squeezed lemon juice
- 1 pinch salt
- 1 cinnamon stick (optional)
Instructions
- Peel and slice bananas into chunks. Place in wide pot with sugar, lemon juice, salt, and cinnamon stick.
- Simmer over medium-low heat for 30 minutes, stirring occasionally. Mash for chunky texture or blend for smooth consistency.
- Test readiness using the cold plate method: if the jam holds its line, it’s ready.
- Transfer hot jam into sterilized jars, filling to ¼ inch from the top. Seal tightly.
- Invert jars for 12 hours to create a vacuum seal. Store in refrigerator or freezer.
Notes
Substitute half the sugar with brown sugar for deeper flavor, or lime juice instead of lemon. Add vanilla or cardamom for extra complexity. No pectin needed thanks to bananas’ natural pectin.
- Prep Time: 5 minutes
- Cook Time: 30 minutes
- Category: Preserves
- Method: Stovetop
- Cuisine: Global
Nutrition
- Serving Size: 2 tablespoons
- Calories: 103
- Sugar: 21g
- Sodium: 1mg
- Fat: 0g
- Saturated Fat: 0g
- Unsaturated Fat: 0g
- Trans Fat: 0g
- Carbohydrates: 27g
- Fiber: 1g
- Protein: 0g
- Cholesterol: 0mg

