Did you know that a staggering 72% of home canners report that their first foray into preserving was with strawberry jam? It’s the quintessential gateway recipe, yet many beginners are intimidated by the process, fearing complex steps and potential failure. What if I told you that with the right guidance, you could master a classic, delicious Strawberry Jam Canning Recipe in under an hour of active work? This guide is designed to demystify the process, proving that creating shelf-stable, homemade jam is not only achievable but incredibly rewarding. Let’s turn those fears into a pantry full of sweet, sun-kissed success.
Table of Contents
Ingredients
Gathering your ingredients is the first step to jam-making bliss. Using high-quality, fresh components is key to achieving that unforgettable flavor.
- 5 cups strawberries, crushed (about 2.5 to 3 pounds or 8 cups whole berries): Seek out ripe, fragrant strawberries at their peak. The aroma should be sweet and inviting. For a more rustic texture, you can hand-crush them; for a smoother spread, a quick pulse in a food processor works wonders.
- 7 cups white sugar: Sugar is non-negotiable here—it’s crucial for both sweetness and preservation. It works with the pectin to achieve the perfect gel. While some recipes use alternatives, for a reliable beginner strawberry jam, granulated sugar is your best bet.
- 1.75 ounces dry pectin (1 standard packet): This is the magic ingredient that gives your jam its set. I recommend brands like Sure-Jell or Ball for consistent results. Substitution Tip: If you’d prefer a pectin-free strawberry jam, you’ll need to rely on the fruit’s natural pectin and a much longer cooking time, which can result in a darker, more caramelized flavor.
Timing Your Jam Session
One of the biggest perks of this specific easy strawberry jam recipe is its efficiency. Unlike traditional methods that can take hours, this pectin-method recipe is designed for a fast, hot process.
- Preparation Time: 15 minutes (washing berries, prepping jars)
- Cooking Time: 20-25 minutes
- Canning Processing Time: 10 minutes
- Total Time: Approximately 45-50 minutes
This means you’re looking at less than an hour from fresh fruit to sealed jars, making it a perfect weekend project without consuming your entire day.
Step 1: Prepare Your Canning Equipment
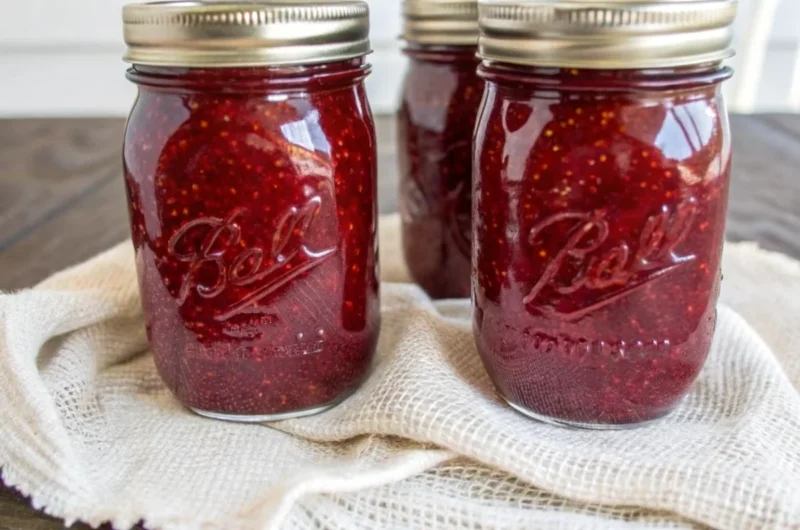
Before you even touch a strawberry, get your jars ready. Wash four 16-ounce mason jars (pint jars) and their lids with new seals in hot, soapy water. Dry them thoroughly and place them on a clean kitchen towel alongside your ladle and wide-mouth funnel. Pro Tip: To ensure your jars are warm and ready for the hot jam, submerge them in your boiling water bath for a minute before inverting them on the towel to dry. This prevents thermal shock and potential breakage.
Step 2: Create a Chunky Strawberry Puree
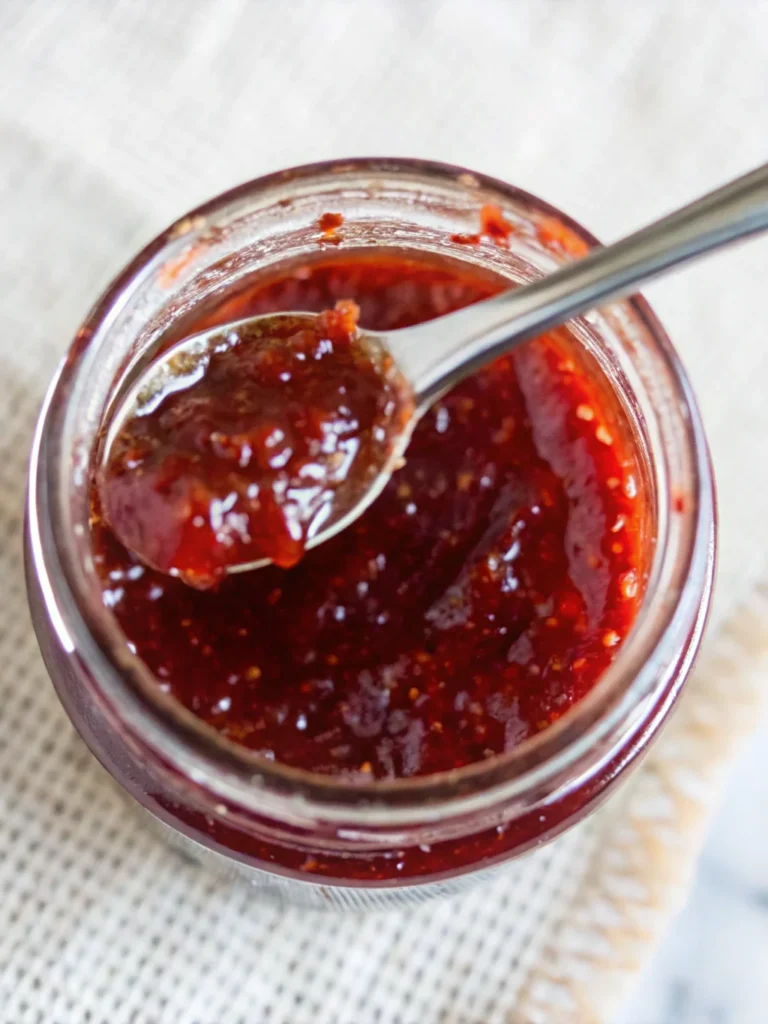
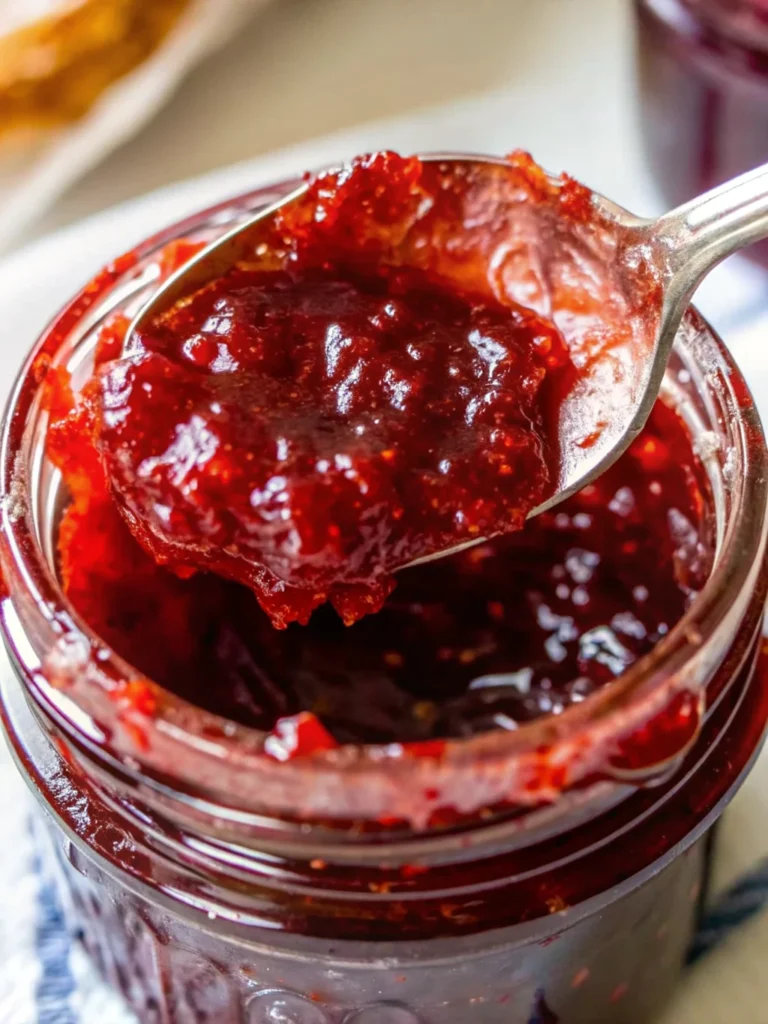
Wash, hull (remove the stem), and inspect your strawberries. Place them in a food processor or blender and pulse just a few times until you achieve a chunky puree. You want to see visible pieces of berry for that authentic, homemade texture—this isn’t meant to be a completely smooth jelly.
Step 3: Cook the Jam Base
Combine the crushed strawberries with the entire packet of pectin in a large, non-reactive pot (stainless steel or enameled Dutch oven are ideal). Stir continuously over medium-high heat to fully dissolve the pectin and bring the mixture to a vigorous, rolling boil—a boil that doesn’t stop bubbling when you stir.
Step 4: Boil Your Water Bath
While your fruit mixture is heating, bring a separate large pot of water to a full boil. This is your water bath canner. Ensure you have enough water to submerge your jars by at least 1 inch.
Step 5: The Sugar Rush and Final Cook
Once your strawberry-pectin mix is at a rolling boil, it’s time for the sugar. Pour in all 7 cups at once and stir vigorously to dissolve. This will bring the temperature down momentarily. Keep stirring and bring it back to that hard, rolling boil. Once achieved, set a timer and boil for exactly 3 to 4 minutes. Personalized Tip: For a looser, more spoonable jam, aim for 3 minutes. For a firmer set that’s perfect for sandwiches, go the full 4 minutes. Any less will be runny; any more can become overly firm.
Step 6: Jar and Seal Immediately
When the time is up, immediately remove the pot from the heat. Skim off any foam for clearer jam. Using your ladle and funnel, carefully fill the warm jars, leaving about 1/4 inch of headspace at the top. Wipe the rims with a clean, damp cloth to ensure a perfect seal. Place the lids and bands on, tightening them only until fingertip-tight—don’t crank them on with all your strength.
Step 7: Process in the Water Bath
Using a jar lifter, carefully lower the filled jars into your boiling water bath. Process them for 10 minutes (start the timer once the water returns to a boil). After processing, remove the jars and place them back on the towel-lined counter. You’ll be rewarded with the most satisfying sound—the gentle pop of the lids sealing as they cool.
Nutritional Information
Understanding what goes into your jam helps you enjoy it mindfully. This nutritional data is based on a standard 2-ounce (roughly 2 tablespoon) serving.
| Nutrient | Amount |
|---|---|
| Calories | 248 kcal |
| Carbohydrates | 64 g |
| Sugars | 61 g |
| Protein | 1 g |
| Fat | 1 g |
| Fiber | 1 g |
| Vitamin C | 28.4 mg (47% DV) |
Data Insight: While it’s a sweet treat, homemade jam avoids the high-fructose corn syrup and preservatives found in many commercial varieties, and you get a nice boost of vitamin C!
Healthier Alternatives for the Recipe
Love the flavor but want to tweak the nutrition? Here are some easy swaps:
- Lower-Sugar Option: Use a pectin specifically designed for low-or no-sugar recipes (like Ball® RealFruit™ Pectin). This allows you to drastically cut the sugar without sacrificing the set.
- Organic Ingredients: Simply choose organic strawberries and organic cane sugar to create an organic strawberry jam.
- Add a Boost: Stir in 1 tablespoon of chia seeds or ground flaxseed after cooking for added fiber and omega-3s (note: this will alter the texture).
- Infuse with Flavor: Add the zest of one lemon or orange to the berry mixture for a bright, citrusy twist that enhances the strawberry flavor without adding calories.
Serving Suggestions
Your homemade jam is a star far beyond the breakfast table!
- The Classic: Smear generously on warm, buttered toast, scones, or English muffins.
- The Gourmet: Use it as a filling for thumbprint cookies, a topping for cheesecake, or a swirl-in for vanilla yogurt or oatmeal.
- The Savory Twist: It makes a incredible glaze for grilled chicken or pork. Just thin a few tablespoons with a little vinegar for a tangy, sweet sauce.
Common Mistakes to Avoid
Learning from others’ errors is the key to first-time success.
- Using Unripe Fruit: Underripe berries are low in natural pectin. Always use ripe, fragrant fruit for the best set and flavor.
- Doubling the Batch: It’s tempting but don’t! Doubling a jam recipe can prevent it from setting properly. Always make multiple batches separately.
- Not Achieving a Rolling Boil: A gentle simmer isn’t enough to activate the pectin. You must reach and maintain a full, rolling boil after adding the sugar.
- Ignoring Headspace: Leaving too little or too much space at the top of the jar can prevent a proper seal during processing.
Storing Tips for the Recipe
Proper storage ensures your hard work lasts.
- Unopened Jars: Store your sealed jars in a cool, dark, dry place like a pantry. They will remain at peak quality for up to 1 year.
- Opened Jars: Once opened, refrigerate the jam and consume it within 1 month.
- Freezing: For even more flexibility, you can skip the water bath canning and simply pour the finished jam into freezer-safe containers, leaving 1/2 inch headspace. It will keep frozen for up to 6 months.
Conclusion
This easy strawberry jam canning recipe empowers beginners to create a classic preserve. With fresh berries, sugar, pectin, and simple steps, you’ll achieve a perfect set and delicious flavor. The process is quick, rewarding, and fills your pantry with homemade goodness.
Ready to taste the difference? I’d love to hear about your jam-making journey! Share your results, photos, or questions in the comments section below. Don’t forget to subscribe to our blog for more foolproof canning guides and recipes delivered straight to your inbox!
FAQs
Q: Can I make this strawberry jam recipe without pectin?
A: Absolutely! To make a traditional strawberry jam recipe without pectin, you’ll need to cook the fruit and sugar for a much longer time (often 30-45 minutes) to reach the gel point. The jam will be darker and have a more concentrated, caramelized flavor. It’s delicious but requires more attention to avoid burning.
Q: Why is my jam runny?
A: A runny jam is usually due to not reaching a full rolling boil, not boiling for the full time after adding sugar, or using fruit that was underripe or measured inaccurately. Don’t worry—runny jam makes a fantastic syrup for ice cream or pancakes!
Q: How do I know if my jars sealed correctly?
A: After the jars have cooled for 12-24 hours, press down on the center of the lid. If it doesn’t move or pop, it’s sealed. If it flexes up and down, it did not seal. Any unsealed jars must be refrigerated and eaten first.
Q: Is this the best strawberry jam recipe for canning?
A: While “best” is subjective, this is a highly reliable, tested formula that consistently produces excellent results for beginners and experienced canners alike. It’s a fantastic foundation that you can then customize to your taste!
Easy Strawberry Jam Canning Recipe for Beginners
- Total Time: 50 minutes
- Yield: 4 pint jars 1x
Description
This easy strawberry jam canning recipe is perfect for beginners. With just strawberries, sugar, and pectin, you’ll have homemade jam ready in under an hour. A quick, rewarding way to stock your pantry with sweet, sun-kissed preserves.
Ingredients
- 5 cups strawberries, crushed (about 2.5 to 3 pounds or 8 cups whole berries)
- 7 cups white sugar
- 1.75 ounces dry pectin (1 standard packet)
Instructions
- Wash jars, lids, and bands in hot soapy water. Keep jars warm in boiling water until ready to use.
- Wash, hull, and crush strawberries to make a chunky puree.
- In a large pot, combine crushed strawberries and pectin. Bring to a rolling boil while stirring constantly.
- In another pot, bring water to a full boil for the water bath canner.
- Add all sugar at once to the fruit mixture, stirring to dissolve. Return to a rolling boil and cook for 3–4 minutes.
- Remove from heat, skim foam, and ladle hot jam into prepared jars, leaving 1/4 inch headspace. Wipe rims and secure lids fingertip-tight.
- Process jars in boiling water bath for 10 minutes. Remove and let cool until lids seal with a pop.
Notes
For best results, use ripe, fragrant strawberries. Do not double the recipe, as it may prevent proper setting.
- Prep Time: 15 minutes
- Cook Time: 25 minutes
- Category: Canning & Preserving
- Method: Water Bath Canning
- Cuisine: American
Nutrition
- Serving Size: 2 tablespoons
- Calories: 248
- Sugar: 61g
- Sodium: 0mg
- Fat: 1g
- Saturated Fat: 0g
- Unsaturated Fat: 0g
- Trans Fat: 0g
- Carbohydrates: 64g
- Fiber: 1g
- Protein: 1g
- Cholesterol: 0mg
