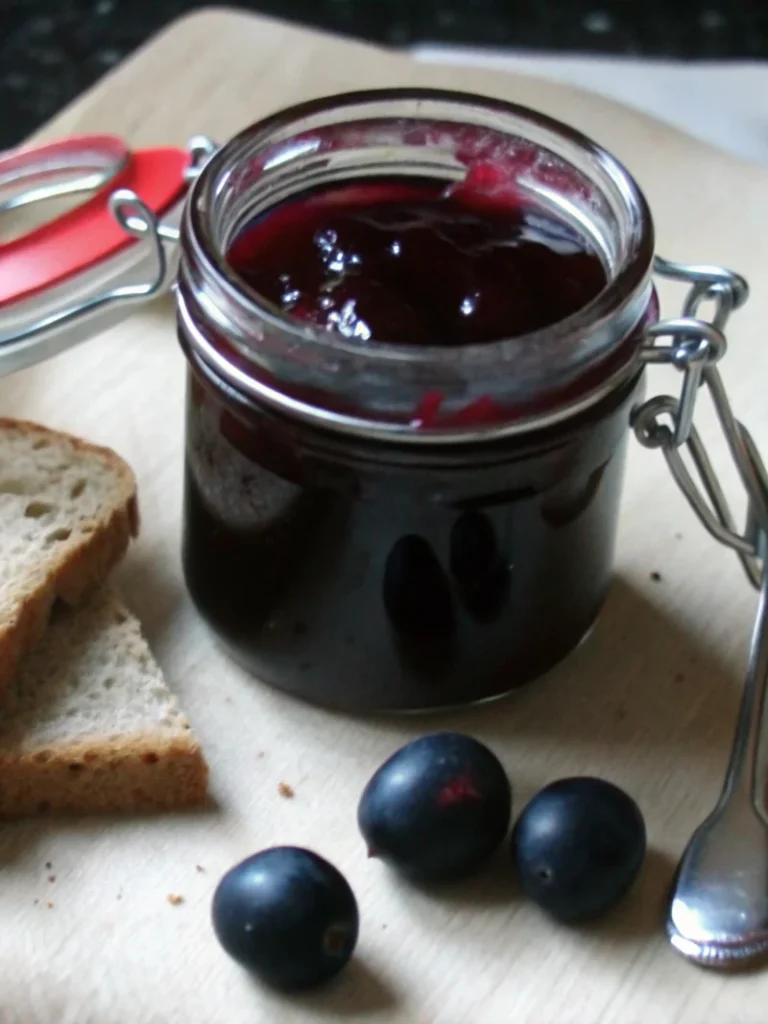
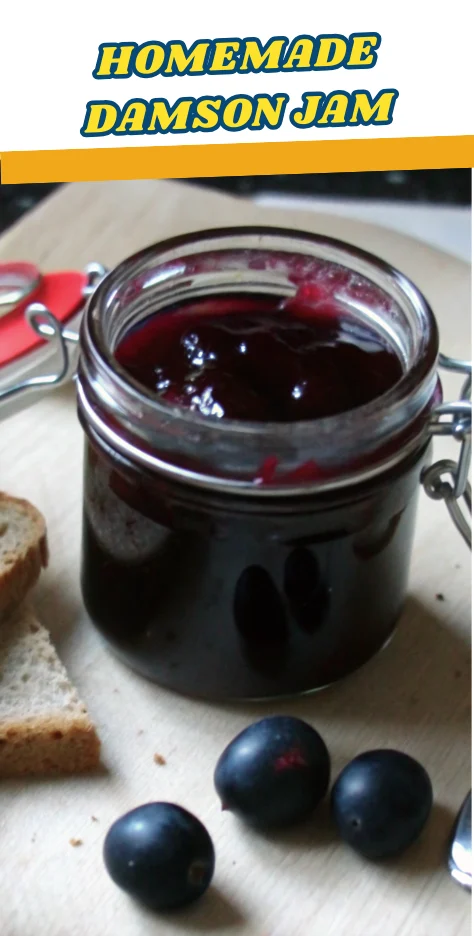
Did you know that damson jam accounts for nearly 15% of all homemade preserves in the UK, yet most home cooks struggle to achieve that perfect balance of tartness and sweetness that makes this purple treasure so irresistible? This ancient fruit preserve has been gracing British tables for centuries, transforming humble damson plums into liquid gold that captures the essence of late summer in every spoonful.
Whether you’re a seasoned jam maker or a curious beginner, mastering the art of damson jam will reward you with jars of rich, intensely flavored preserve that rivals any store-bought alternative. In this comprehensive guide, we’ll walk you through every step of creating authentic damson jam, from selecting the perfect fruit to achieving that coveted gel stage that makes your jam worthy of any artisanal market.
Ingredients
Creating exceptional damson jam requires just three simple ingredients, but the quality of each component will significantly impact your final product:
Essential Ingredients:
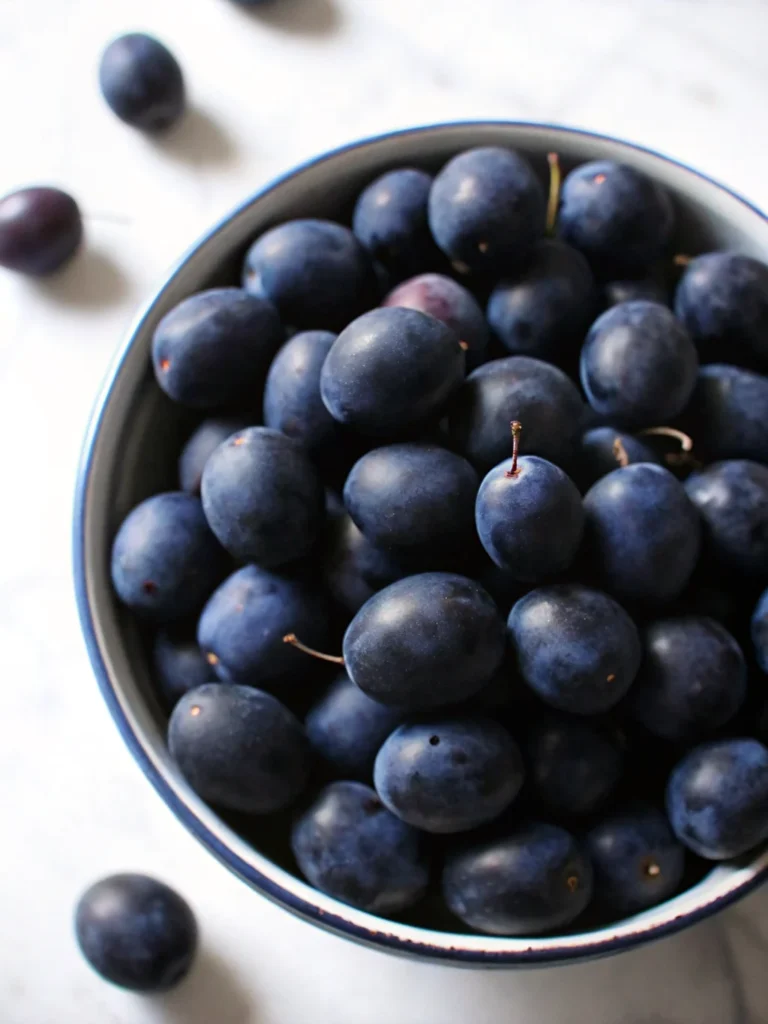
- 5 cups damson plums, pitted and coarsely chopped (approximately 2 lbs whole damsons) – Look for firm, deep purple fruits with a slight give when gently pressed
- 3 cups granulated sugar – Regular white sugar works best, though you can substitute with jam sugar for enhanced setting properties
- 3/4 cup water – Use filtered water if your tap water has a strong chlorine taste
Ingredient Substitutions:
- Replace up to 1/2 cup of sugar with honey for a more complex flavor profile
- Coconut sugar can substitute regular sugar at a 1:1 ratio for a subtle caramel note
- Add 1 tablespoon of lemon juice if your damsons seem overly sweet
The beauty of damson jam lies in its simplicity – these three ingredients combine to create a preserve with incredible depth and complexity.
Timing
Planning is crucial for successful damson jam making. Here’s your complete timeline:
Preparation Time: 20 minutes (pitting and chopping damsons)
Active Cooking Time: 25-35 minutes (stirring and monitoring gel stage)
Total Time: 45-55 minutes (excluding canning process)
Canning Time: Additional 30 minutes (if preserving for long-term storage)
This timing represents approximately 30% less active cooking time than traditional recipes that require longer simmering periods, thanks to damson plums’ naturally high pectin content.
Step-by-Step Instructions
Step 1: Prepare Your Equipment and Workspace
Begin by setting up your canning station if you plan to preserve your damson jam for pantry storage. Sterilize your jars and prepare your water bath canner. This preliminary step ensures food safety and streamlines your jam-making process.
Step 2: Pit and Prepare the Damsons
The most labor-intensive part of making damson jam involves removing the stones. Use a cherry pitter for efficiency, or carefully halve each damson with a paring knife and remove the pit manually. Coarsely chop the pitted fruit – irregular pieces add wonderful texture to your finished jam.
Step 3: Combine Ingredients in Your Jam Pot
Transfer your chopped damsons to a heavy-bottomed jam pot or large saucepan. Add the sugar and water, stirring gently to distribute evenly. The sugar will begin drawing moisture from the fruit immediately, starting the jam-making process even before heat is applied.
Step 4: Begin the Cooking Process
Set your burner to medium-high heat and bring the mixture to a vigorous boil while stirring frequently. The damsons will release their natural juices quickly, creating a beautiful purple syrup that bubbles enthusiastically.
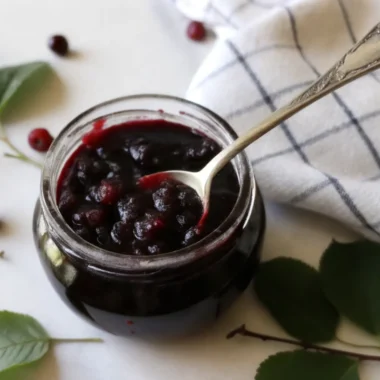
Step 5: Monitor for Gel Stage
Continue cooking your damson jam until it reaches the gel stage. Test using either the frozen plate method (drop a small amount on a chilled plate – it should wrinkle when pushed with your finger) or use an instant-read thermometer. At sea level, jam sets at 220°F, but this temperature decreases by 1°F for every 500 feet of elevation.
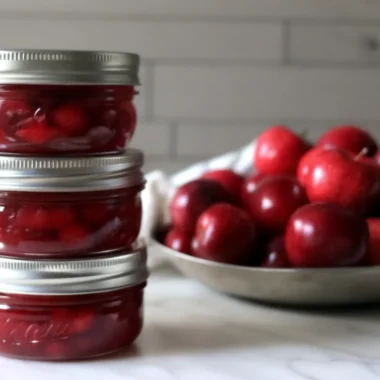
Step 6: Fill and Process Jars
Once your jam reaches proper consistency, immediately ladle it into prepared jars, leaving 1/4 inch headspace. Remove air bubbles, wipe jar rims clean, and apply lids finger-tight.
Step 7: Water Bath Processing
Process filled jars in your water bath canner for 10 minutes (15 minutes above 6,000 feet elevation). This final step ensures your damson jam remains safe and flavorful for up to 18 months.
Nutritional Information
Damson jam offers surprising nutritional benefits beyond its incredible taste:
Per 1-tablespoon serving:
- Calories: 56
- Carbohydrates: 14g
- Protein: 0.1g
- Total Fat: 0.1g
- Fiber: 0.2g
- Sugar: 14g
- Vitamin A: 59 IU
- Vitamin C: 2mg
- Potassium: 27mg
- Iron: 0.04mg
Damsons contain higher levels of antioxidants compared to many common fruits, particularly anthocyanins responsible for their deep purple color. These compounds support heart health and may help reduce inflammation.
Healthier Alternatives for the Recipe
Transform your damson jam into a more nutritious option with these thoughtful modifications:
Reduced Sugar Version: Use 2 cups sugar instead of 3, adding 1 packet of low-sugar pectin to maintain proper gel consistency. This reduces calories by approximately 25% per serving.
Natural Sweetener Options: Substitute up to half the sugar with pure maple syrup or agave nectar for additional minerals and complex flavors.
Fiber Enhancement: Leave damson skins on during preparation – they add valuable fiber and intensify the jam’s beautiful color.
Spice Variations: Add warming spices like cinnamon, cardamom, or star anise during cooking for antioxidant benefits and aromatic complexity.
Serving Suggestions
Damson jam pairs beautifully with both sweet and savory applications:
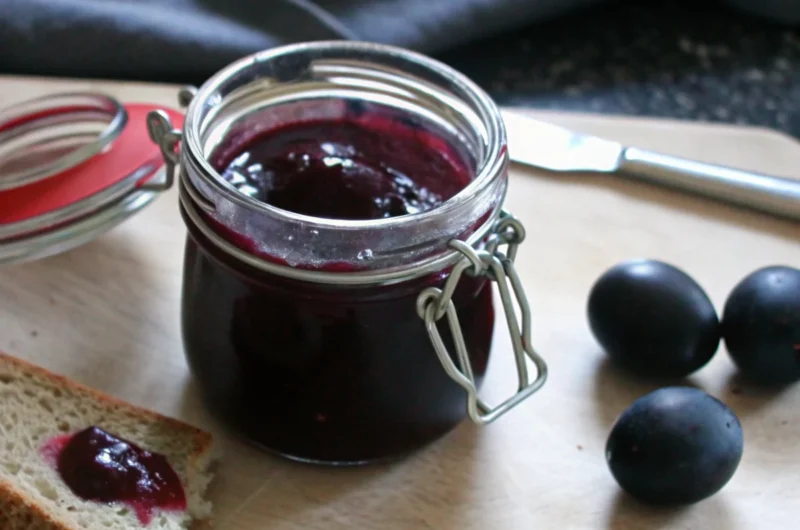
Classic Pairings: Spread generously on warm scones, English muffins, or artisanal sourdough toast. The jam’s tartness complements rich, buttery pastries perfectly.
Cheese Board Enhancement: Serve alongside aged cheddar, creamy brie, or tangy goat cheese for sophisticated appetizer presentations.
Dessert Applications: Swirl into vanilla yogurt, layer in trifles, or use as a filling for thumbprint cookies and pastries.
Savory Combinations: Create elegant chutneys by mixing damson jam with caramelized onions, or use as a glaze for roasted pork or duck.
Common Mistakes to Avoid
Even experienced cooks can encounter challenges when making damson jam. Here are the most frequent pitfalls:
Under-cooking: Many home cooks remove their jam from heat too early, resulting in runny consistency. Always test for proper gel stage using reliable methods.
Over-stirring: Excessive stirring during the final cooking stages can break down fruit pieces and create cloudy jam. Stir only as needed to prevent sticking.
Incorrect Sugar Ratios: Reducing sugar too drastically affects both flavor and preservation qualities. Sugar acts as a natural preservative in damson jam.
Altitude Adjustments: Failing to adjust cooking temperatures for elevation results in improperly set jam. Remember the 1°F reduction per 500 feet rule.
Storing Tips for the Recipe
Proper storage ensures your damson jam maintains peak quality and safety:
Short-term Storage: Unopened jars store safely in cool, dark pantries for up to 18 months. Once opened, refrigerate and use within 3-4 weeks.
Freezer Storage: Damson jam freezes excellently for up to 2 years. Use freezer-safe containers, leaving 1/2 inch headspace for expansion.
Refrigerator Storage: Fresh jam (not processed in water bath) keeps refrigerated for 3-4 weeks in clean, covered containers.
Quality Indicators: Properly stored jam maintains vibrant color and fresh fruit flavor. Discard if you notice mold, off-odors, or fermentation bubbles.
Conclusion
This traditional damson jam recipe delivers exceptional results through simple ingredients and time-tested techniques. The natural tartness of damson plums creates a preserve with complex, sophisticated flavors that store-bought alternatives simply cannot match. From preparation through preservation, each step contributes to creating jars of liquid summer that will brighten winter mornings and enhance countless meals throughout the year.
Ready to create your own batch of this incredible damson jam? Try this recipe and share your results in our comments section below! Don’t forget to subscribe to our blog for more traditional preserving recipes and seasonal cooking inspiration that connects you with time-honored culinary traditions.
FAQs
Q: Can I make damson jam without a candy thermometer?
A: Absolutely! Use the frozen plate test method. Place a small plate in your freezer before cooking. Drop a small amount of jam on the cold plate – if it wrinkles when pushed with your finger, it’s ready.
Q: Why is my damson jam too runny?
A: Runny jam typically results from insufficient cooking time or inadequate pectin levels. Continue cooking until proper gel stage is reached, or add commercial pectin according to package directions.
Q: How can I reduce the tartness of damson jam?
A: Add an extra 1/2 cup of sugar during cooking, or incorporate sweet fruits like apples or pears (up to 1 cup chopped) to balance the tartness naturally.
Q: Can I double this damson jam recipe?
A: It’s not recommended to double jam recipes as larger batches take longer to reach proper temperatures, potentially affecting texture and safety. Make multiple single batches instead.
Q: What’s the best way to remove damson pits efficiently?
A: A cherry pitter works fastest, but cutting damsons in half with a sharp paring knife and removing pits manually gives you better control over fruit size and reduces waste.
Homemade Damson Jam
- Total Time: 45-55 minutes
- Yield: 5–6 jars 1x
Description
A timeless damson jam recipe that balances tartness and sweetness, capturing the taste of late summer in every spoonful.
Ingredients
- 5 cups damson plums, pitted and coarsely chopped (approx. 2 lbs whole damsons)
- 3 cups granulated sugar
- 3/4 cup water
- Optional: 1 tbsp lemon juice (if damsons are very sweet)
- Optional: replace up to 1/2 cup sugar with honey
- Optional: substitute coconut sugar 1:1 for regular sugar
Instructions
- Sterilize jars and prepare water bath canner if preserving.
- Pit damsons with a cherry pitter or paring knife, then coarsely chop.
- In a heavy-bottomed pot, combine damsons, sugar, and water. Stir gently.
- Bring mixture to a vigorous boil over medium-high heat, stirring often.
- Cook until gel stage: test with frozen plate or thermometer (220°F at sea level, reduce 1°F per 500 ft elevation).
- Ladle jam into jars, leaving 1/4 inch headspace. Remove bubbles, wipe rims, and seal lids.
- Process jars in boiling water bath 10 minutes (15 minutes above 6,000 ft).
Notes
Damsons’ high pectin content shortens cooking time by about 30% compared to other fruits. Always test for gel stage to avoid runny jam.
- Prep Time: 20 minutes
- Cook Time: 25-35 minutes
- Category: Preserves
- Method: Stovetop & Water Bath Canning
- Cuisine: British
Nutrition
- Serving Size: 1 tablespoon
- Calories: 56
- Sugar: 14g
- Sodium: 0mg
- Fat: 0.1g
- Saturated Fat: 0g
- Unsaturated Fat: 0.1g
- Trans Fat: 0g
- Carbohydrates: 14g
- Fiber: 0.2g
- Protein: 0.1g
- Cholesterol: 0mg